
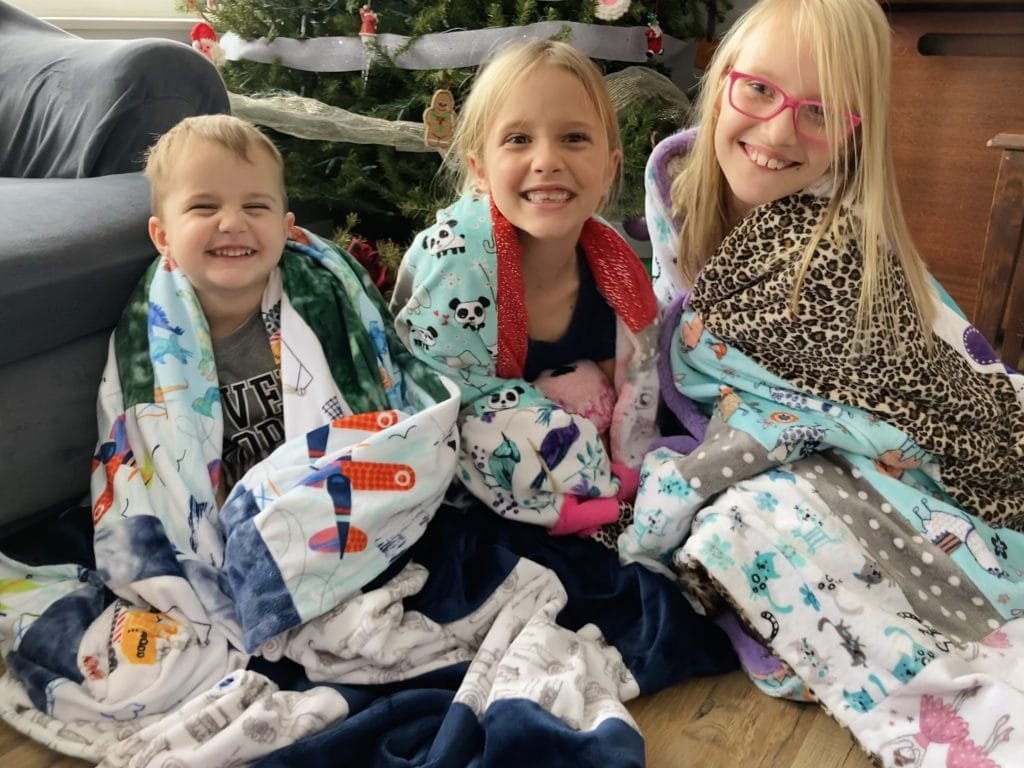
We find it easiest to add homeschool enrichment classes in small units. For a sewing unit we spent December afternoons sewing minky quilts.
Last summer, Tony’s sister found a bunch of new minky fabric scraps at a garage sale. For $15 we obtained enough minky to make 3 tops, 1.5 backs, and plenty to spare. Purchasing an additional $25 of fabric we had enough to make 3 complete twin sized quilts.
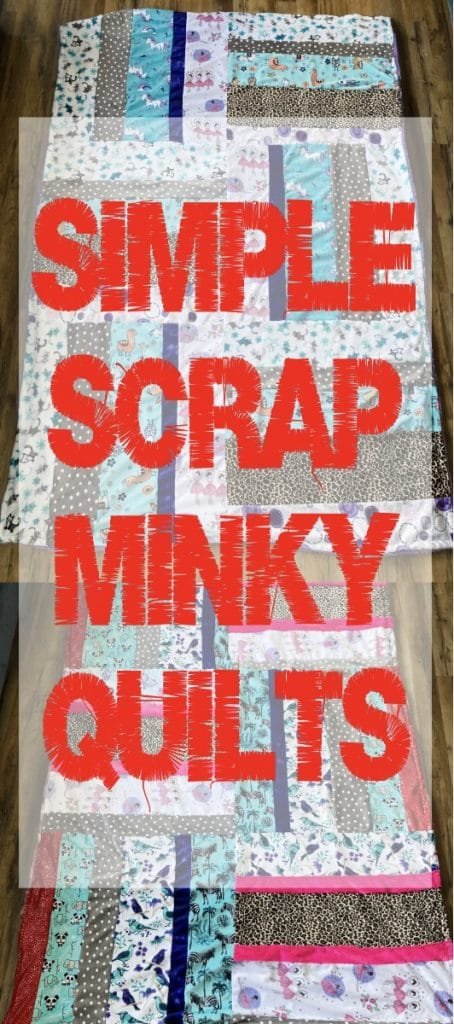
My plan was to make 6 – 2.5 foot x 2.5 foot blocks for each quilt top.

The hardest part was allowing the girls to pick out their own fabrics. We pulled the fabric out at least 5 separate times before settling on color combinations that worked.
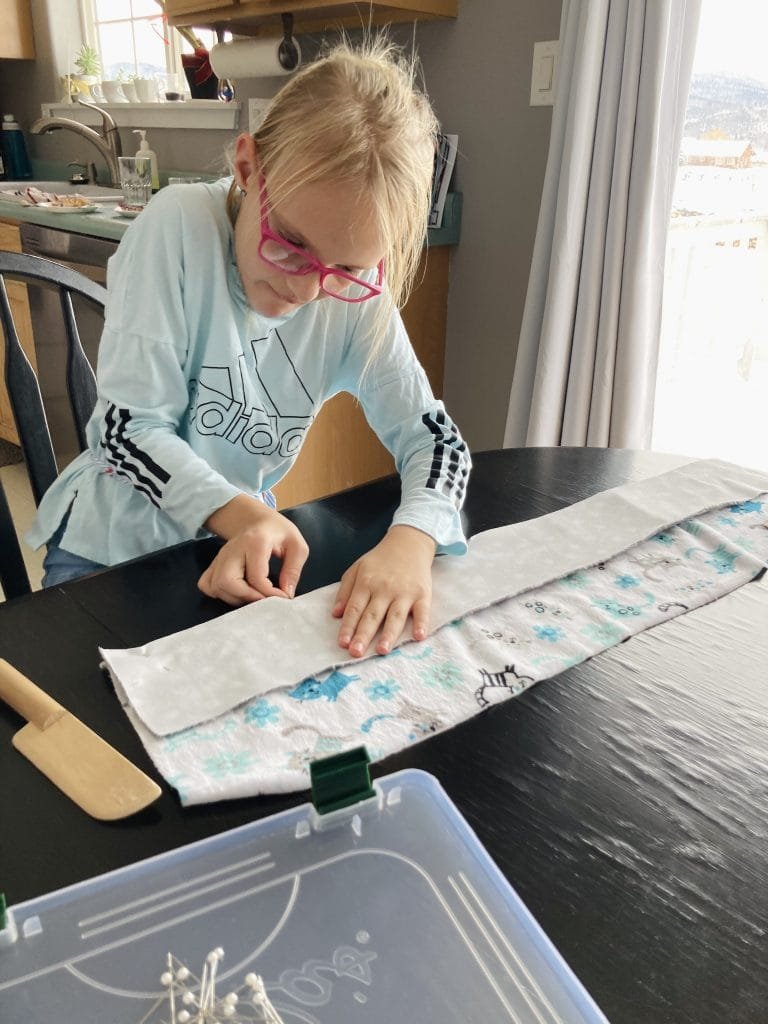
With fabrics picked out we cut the scraps into 30” strips. Each strip had its own unique width. Minky is the messiest fabric to work with. However the end result is the softest blanket you will ever sleep under!
With everything cut to size the sewing commenced!


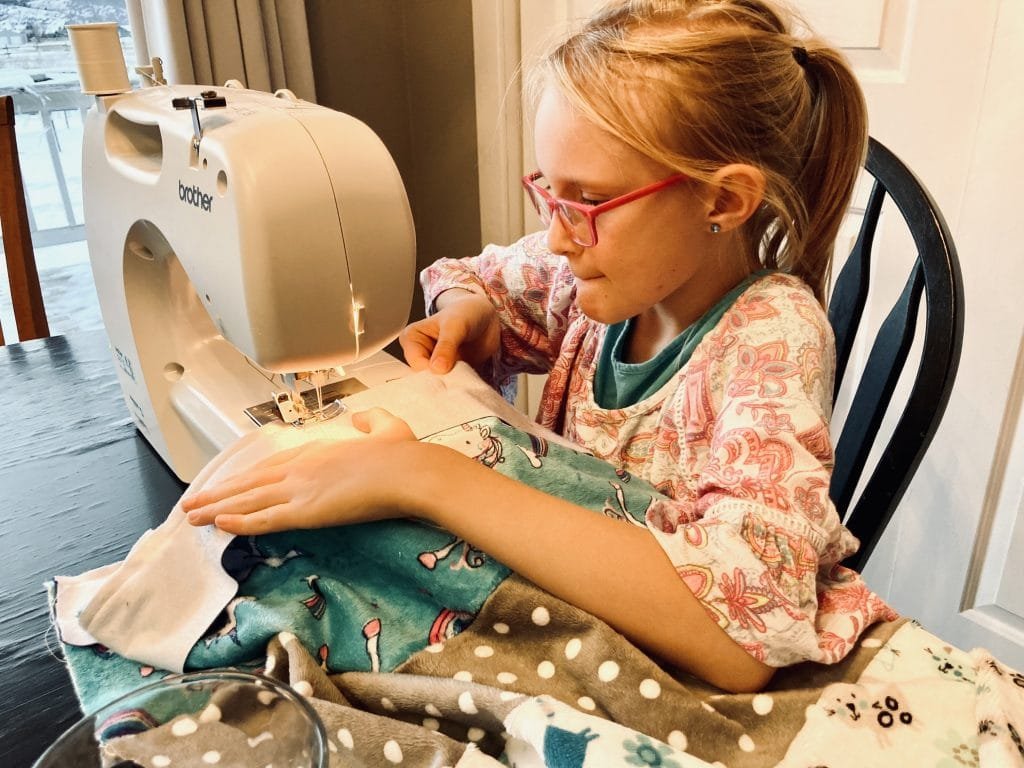
Working with a sewing machine teaches awesome hand eye foot coordination!
I am crossing my fingers that in 6 years these efforts will make driving lessons a little easier 🤞🏻
Because we were working from scraps our minky was not cut along the same fabric grain. Some of the pieces were stretchy while others were less giving. When the quilt top was pieced together we simply trimmed off any excess fabric.
The girls learned how to pin fabric pieces together, sew strips together with a sewing machine, and trim threads.
For the quilt top we sewed blocks 1&2, 3&4, 5&6 together, and we finished with the 2 horizontal seams. This way we only needed to match up one center seam each time. We cheated pinning the pieces together then we began in the center sewing one direction then went back to the center and sewed out the other direction. This way the corners of the blocks came together nicely.


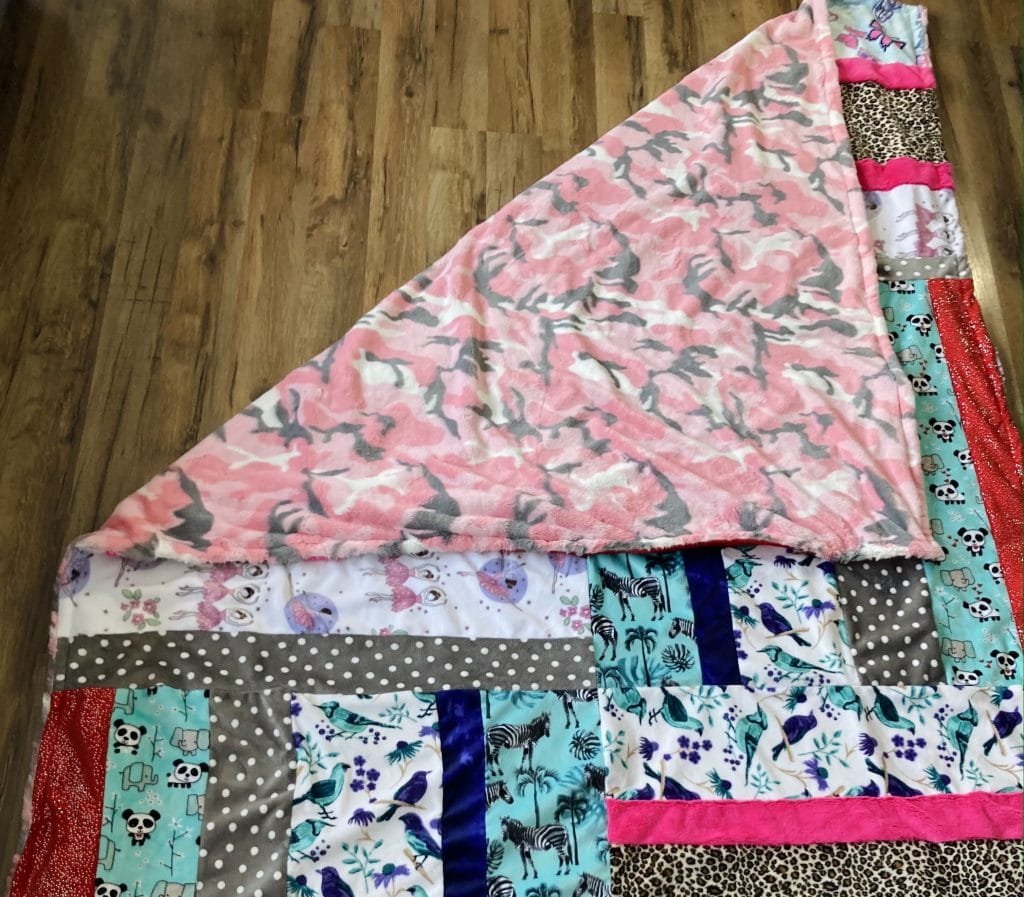
With the quilt top complete, we pinned the top to the back, right sides together. Sewing all the way around, we left a 6 inch hole to turn the blanket right side out.


For Marshall’s, instead of a solid back, we used strips of white and gray car minky paired with some dark blue. Ending in a reversible quilt. Marshall LOVES it!!! I had to work on his quilt after he went to bed because he had the tendency to steal the pieces of fabric and made it impossible to work with him awake.


On Marshall’s blanket, I experimented with ‘quilting’ the front and back together. This consisted of me sewing along some of the seams of the front… I spent over an hour picking out a seam gone wrong. I concluded a flowy minky twin size quilt is the way to go. In other words, we did not ‘quilt’ or tie the top and back together. They work perfect!

The girls finished by sewing one more time around the outside. They sewed about 1” in from the outside edge.
Beautiful things come together one stitch at a time. The small moments and decisions in our daily living are the stitches that make up the tapestry of our lives. Be intentional today. Spend time together learning, laughing, and finding true joy.
💕 Terynn
Just the article I was looking for. Especially finding out the quilt is better without quilting the front to the back. Thank you
I am glad that you found this post useful. I hope your quilt turned out beautifully!