
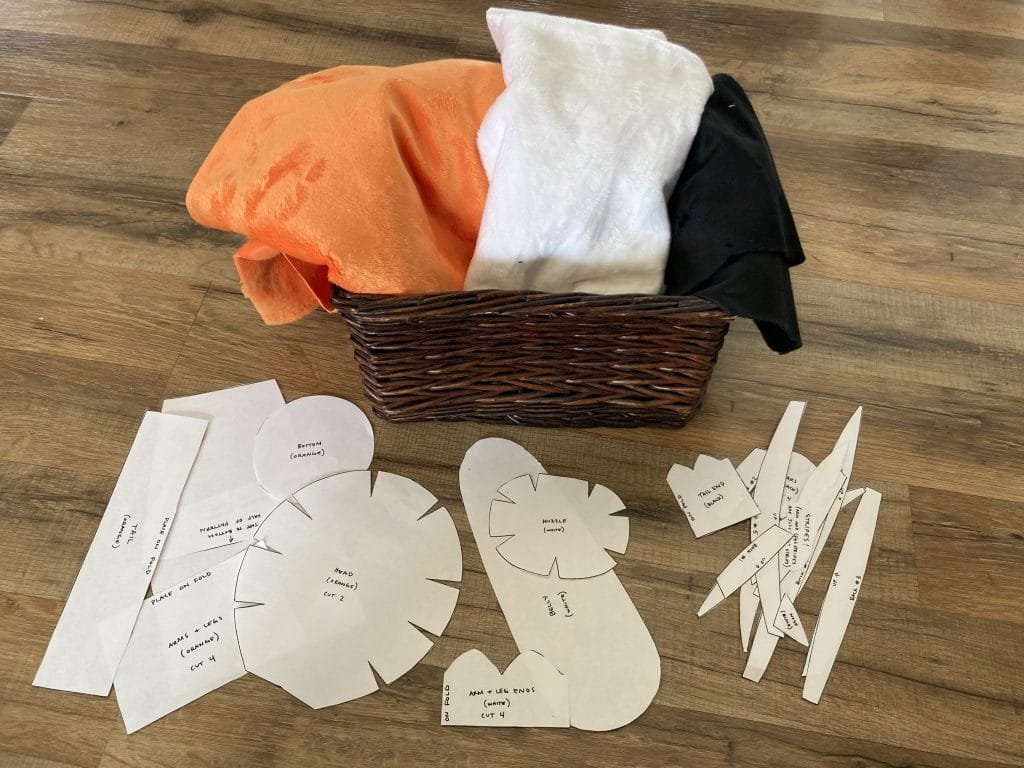
Our family is obsessed with Calvin & Hobbes. Naturally the girls wanted a Hobbes stuffed animal. After a quick search, I learned that Bill Watterson never sold his rights to sell Calvin & Hobbes merchandise. I scoured the web and found an awesome free pattern to sew a stuffed Hobbes. She warns there is a LARGE amount of hand sewing involved with this pattern. Little did I know this would be a project to test our patience and perseverance.
We LOVE soft and cuddly minky fabric at our house. Using minky for Hobbes was the obvious choice. It was easy to work with and makes the softest stuffed animals! I do not regret using minky. Warning minky is MESSY when you cut it but definitely worth the mess every time!
During April’s General Conference, we traced the orange and white pattern pieces onto the back of the fabric using a black sharpie.
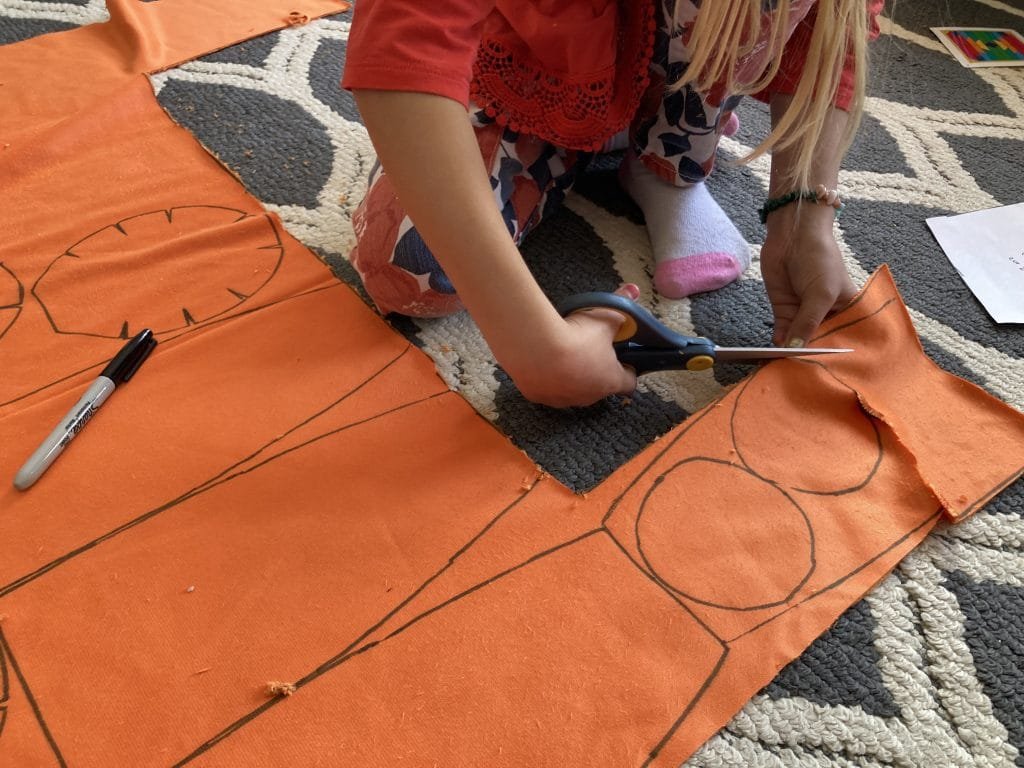
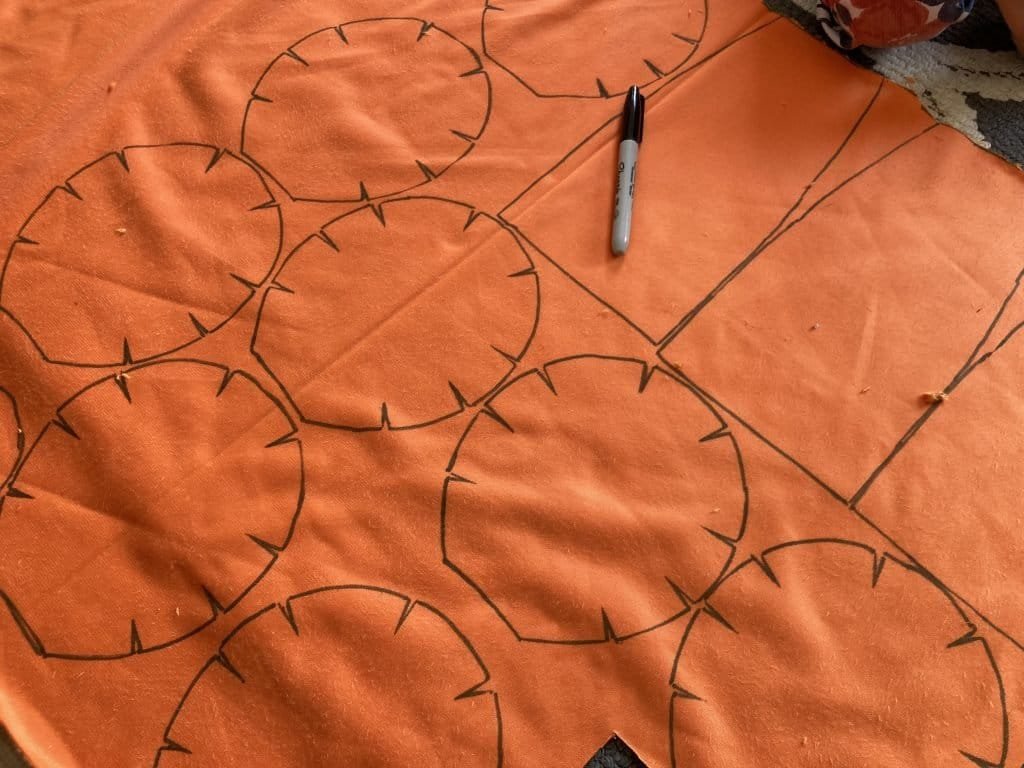

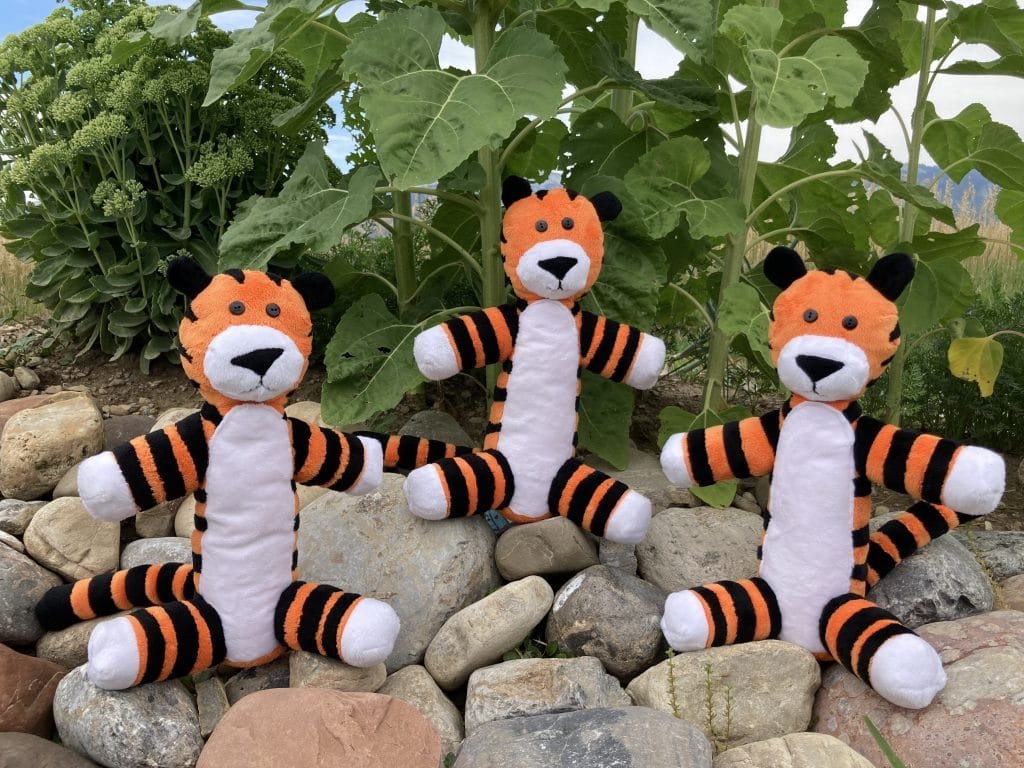
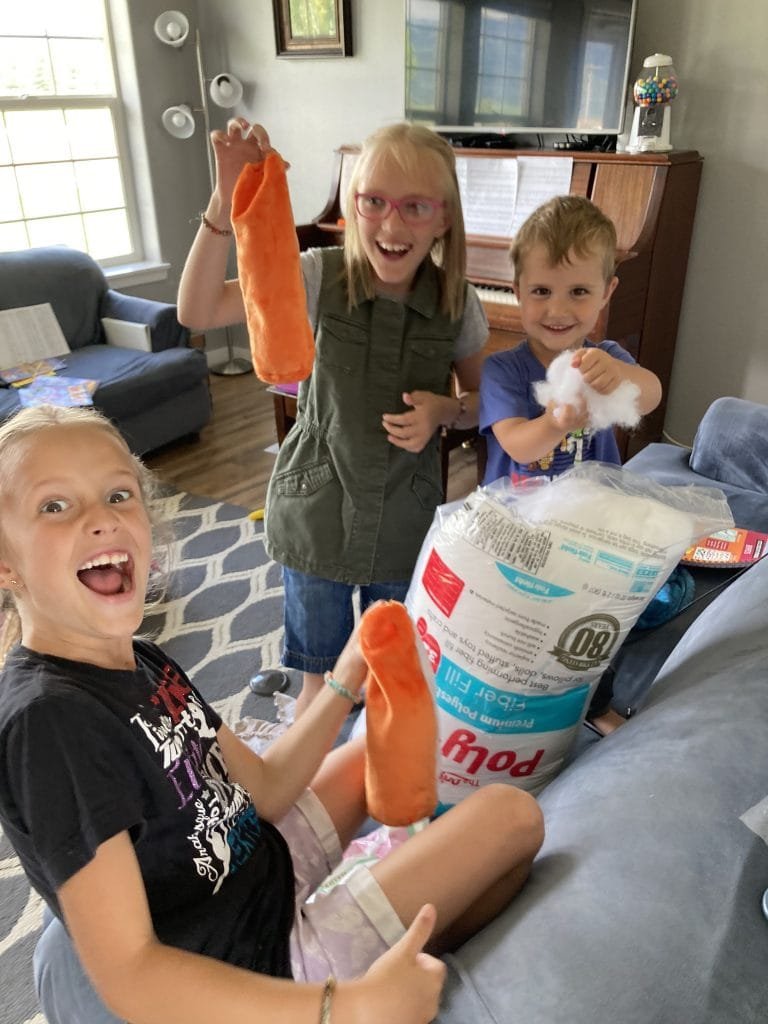
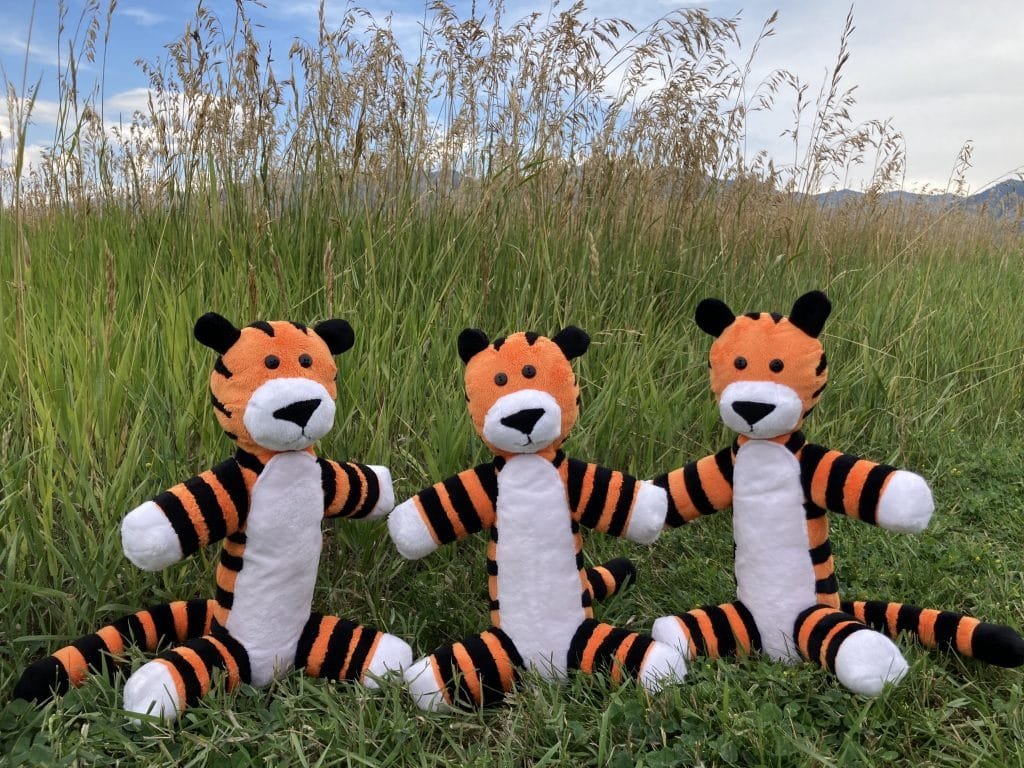
The girls cut out all the pieces. Enough fabric remained that we cut out parts for a 4th Hobbes tiger. (This was overly ambitious of me… Needless to say the 4th is in the unfinished project bin partially assembled.)
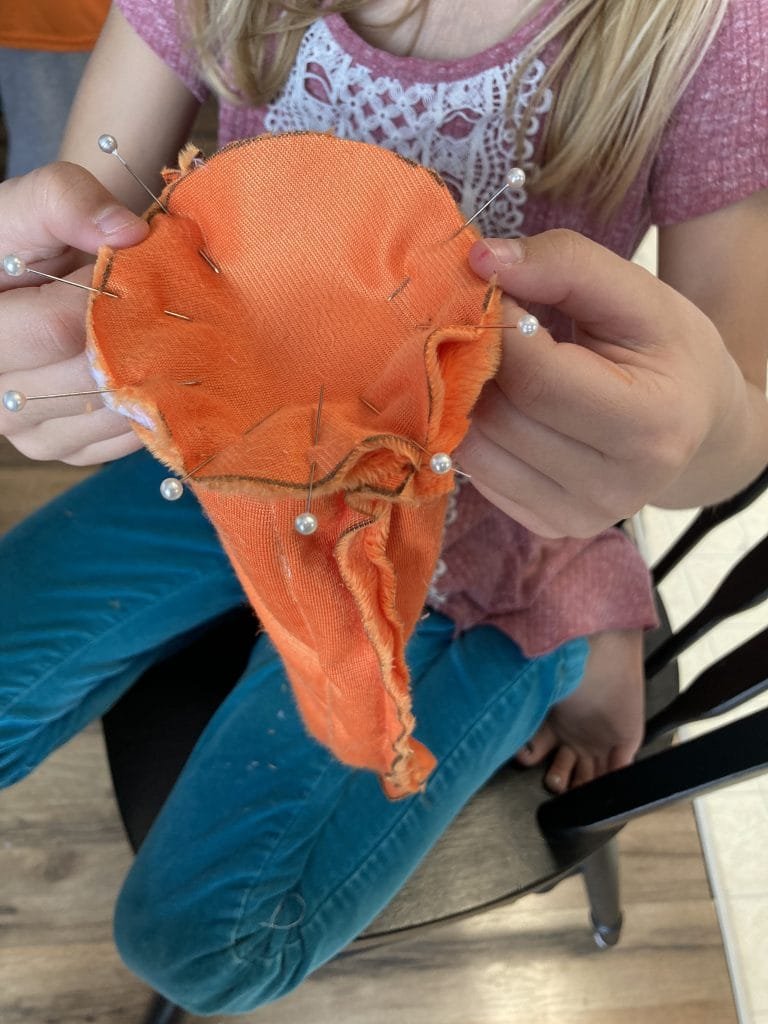
Jozlin & Zaylee pinned the pieces together then used the sewing machine to create the arms, legs, head, tail, and body.


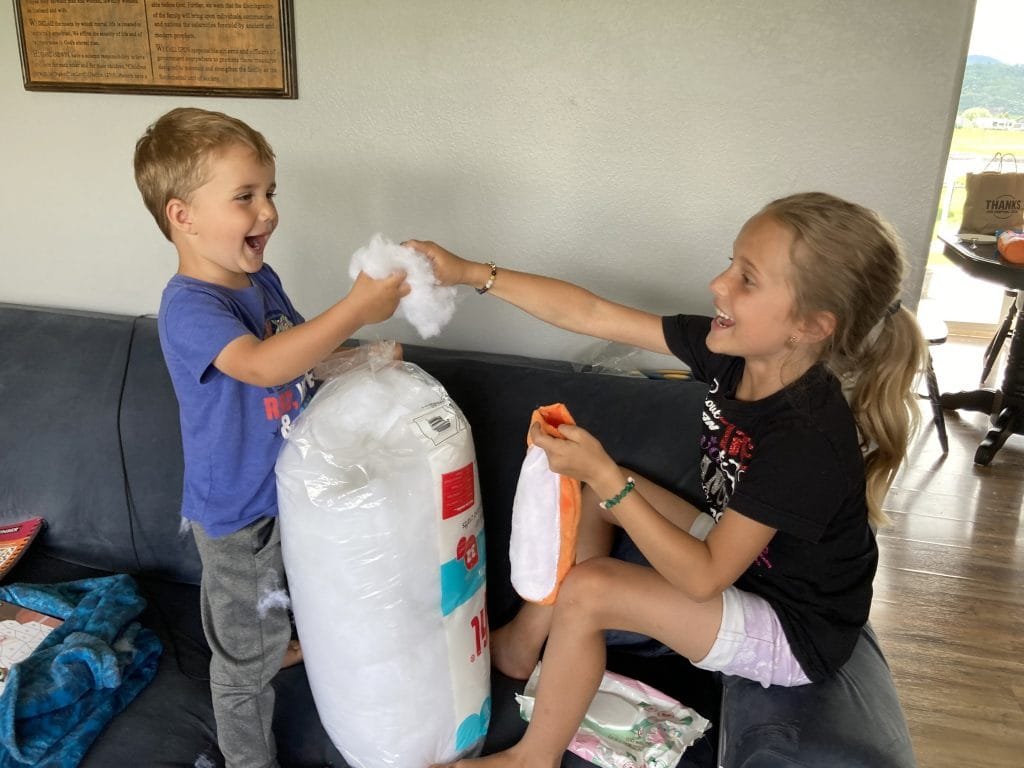
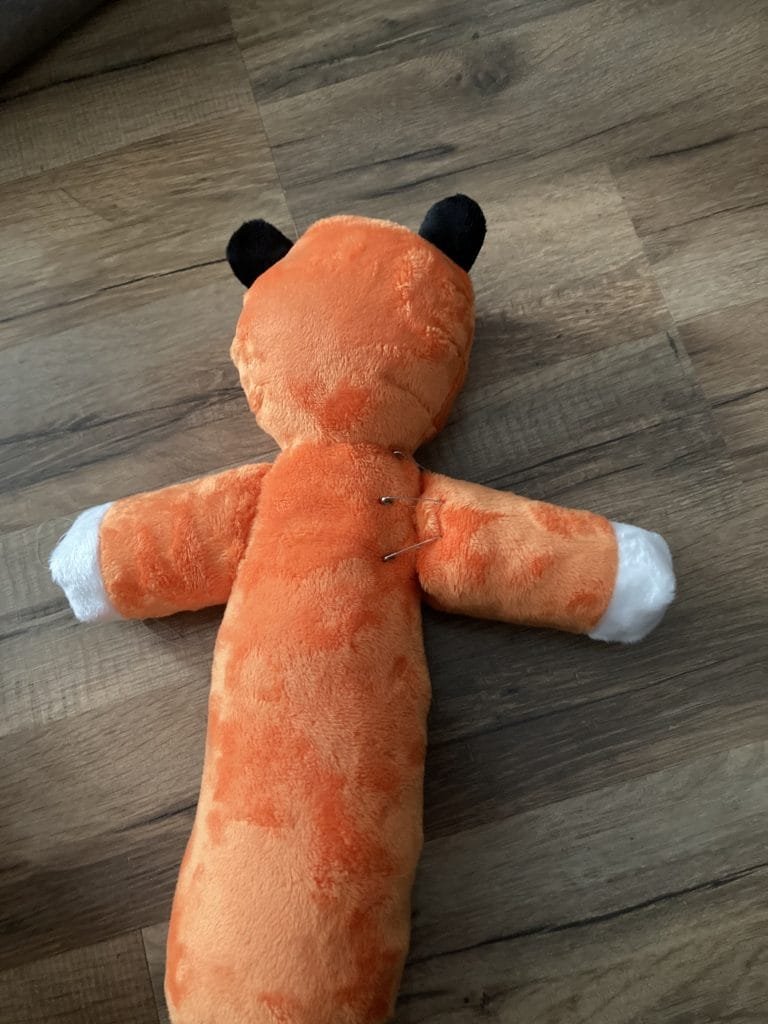
Plastic polyester stuffing beads were added to the bottom of each body, arm, leg, and tail making Hobbes a real “Beanie Boo”.
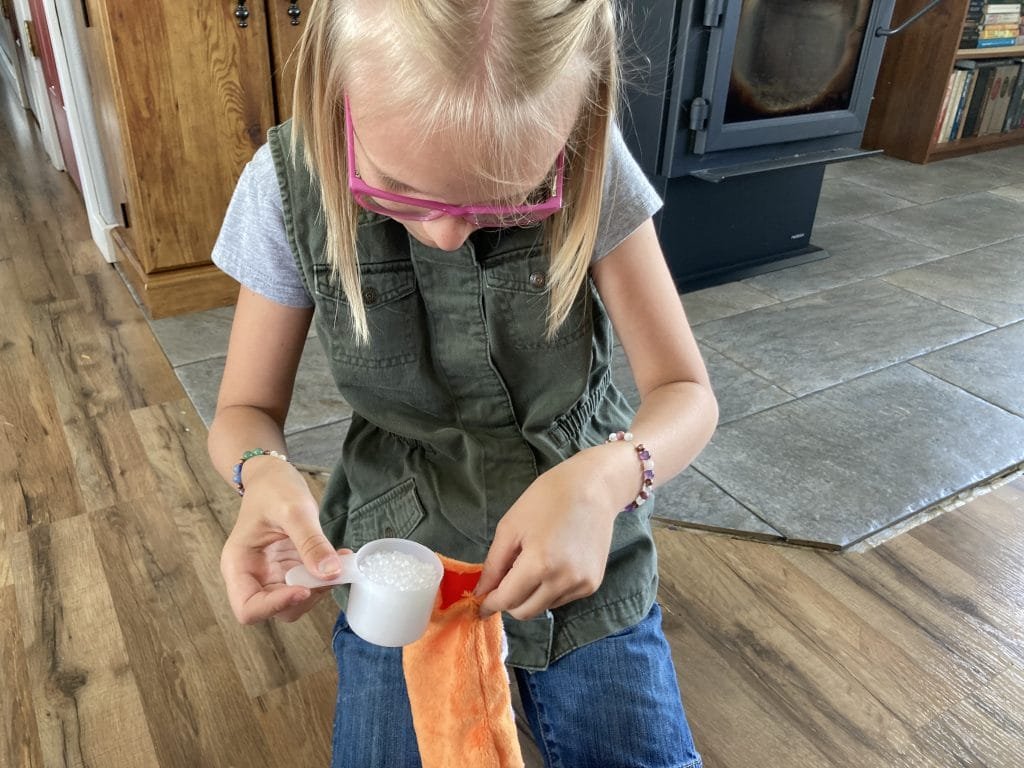
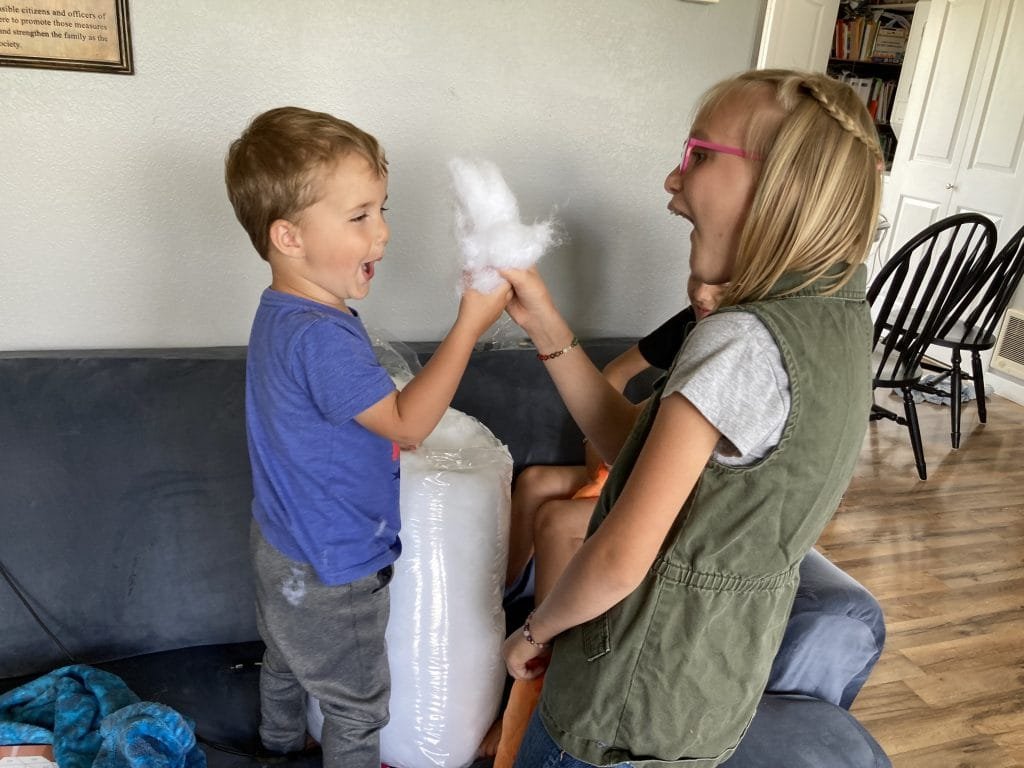
Stuffing was so much fun and messy… Marshall took charge of the stuffing bag and handed out all the stuffing. He LOVED being involved!
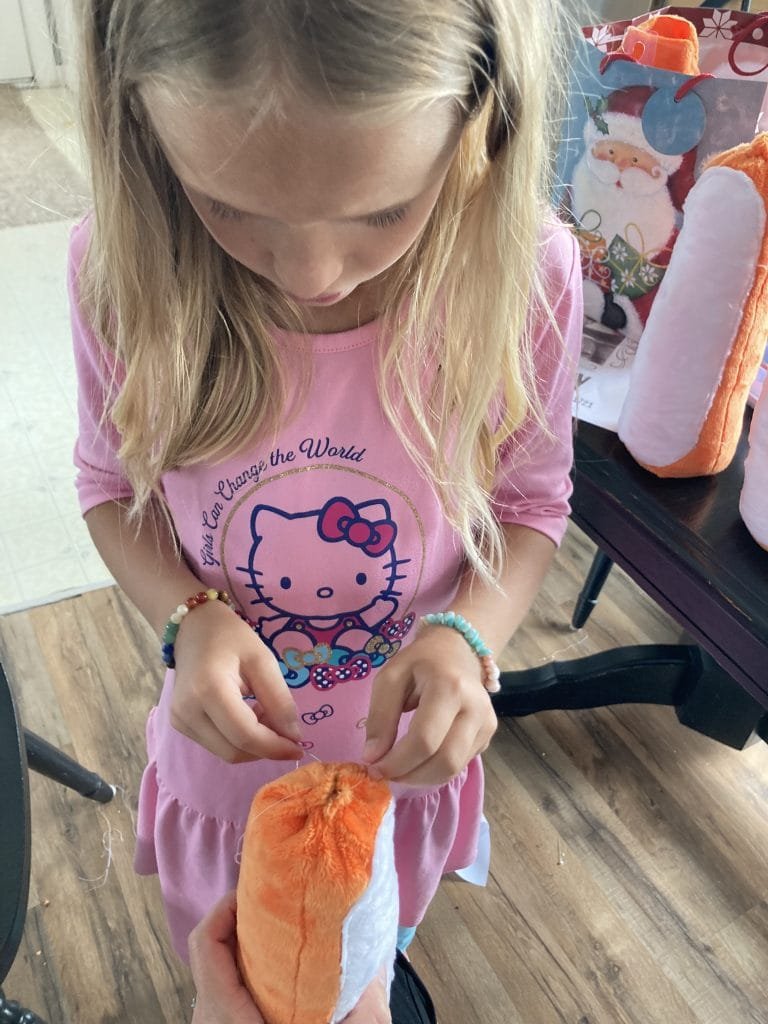
The hand sewing commenced as the girls learned to stitch each body part closed.

Teaching my children and watching them master new skills is one of my FAVORITE things about motherhood!
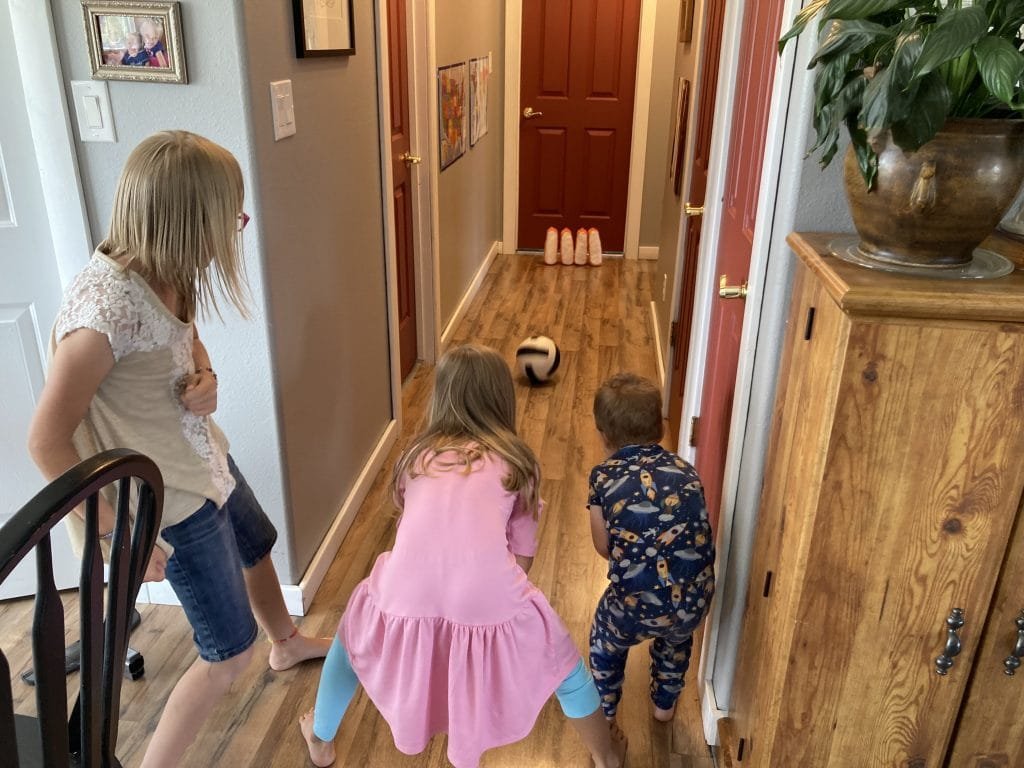
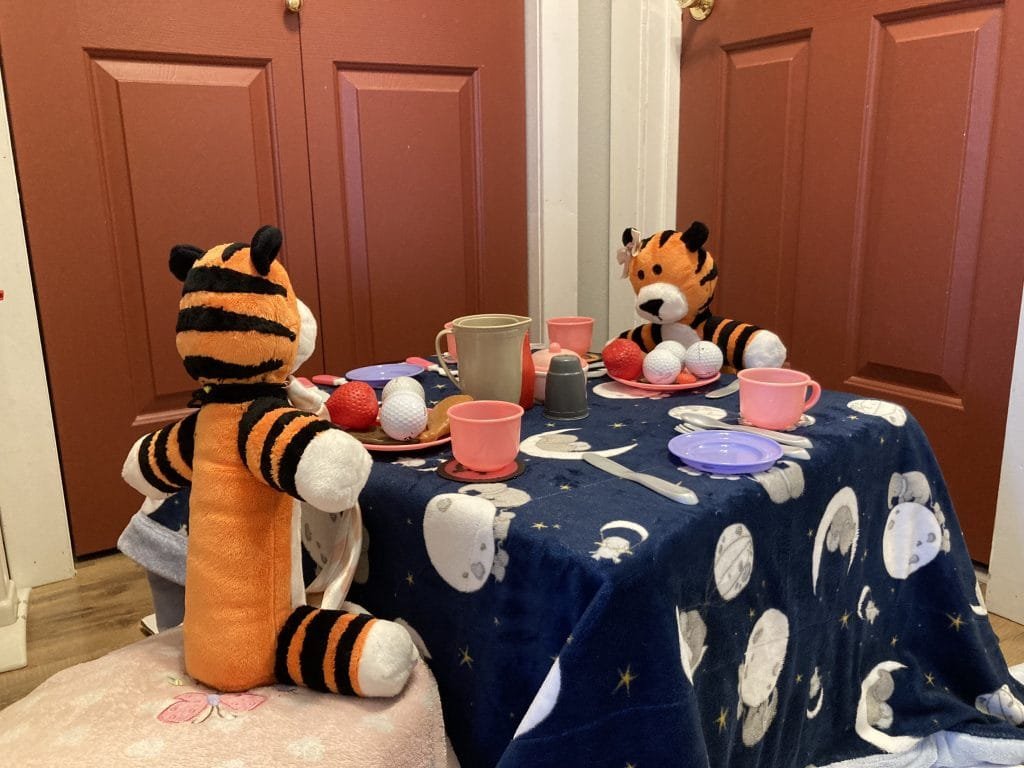
Body bowling was a must 😂
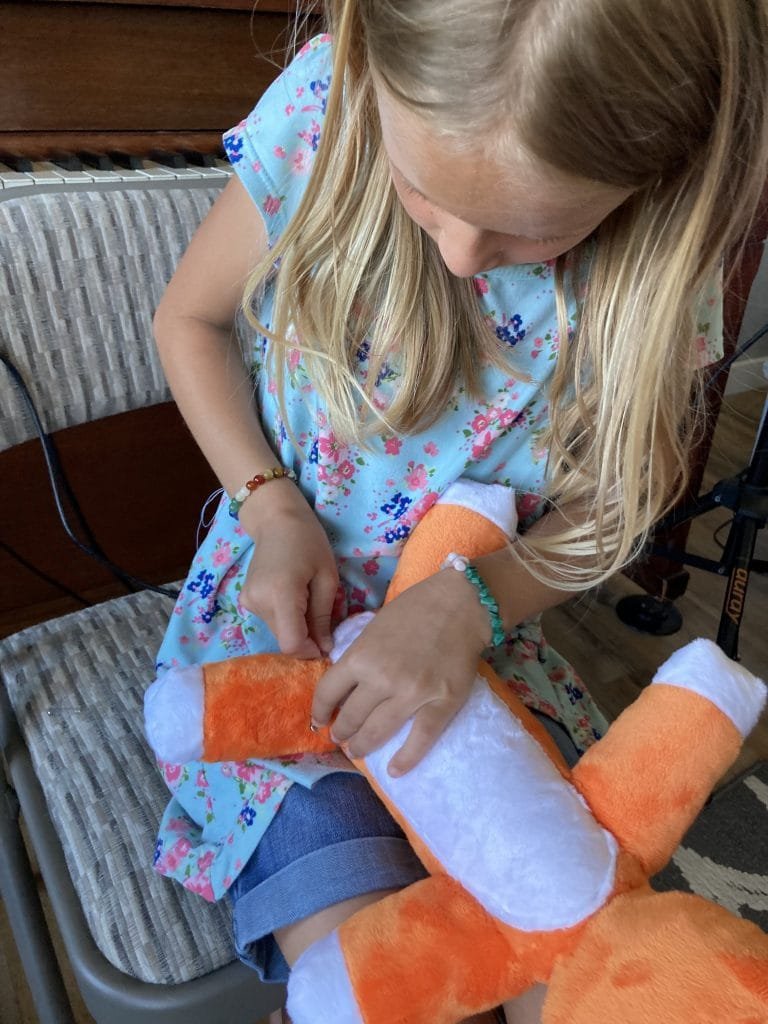
I spent months working through the details of this project in my mind. Two of the largest hurdles were: how do I teach the girls to hand stitch body parts together? How do you place stripes on the tiger to ensure an efficient and frustration free experience? The solution: safety pins! We pinned each part to the body using safety pins.
Each girl would use a slip stitch to secure the part in place removing the safety pins as they sewed.

We watched youtube videos to learn how to properly slip stitch and whip stitch. I demonstrated the techniques on Marshall’s stuffed Hobbes.
I am blown away by how quick Jozlin & Zaylee learned to hand stitch. We would pause at the end of each placement to check for holes. At first there was a lot of restitching, but after a while they learned how to stitch without leaving holes.
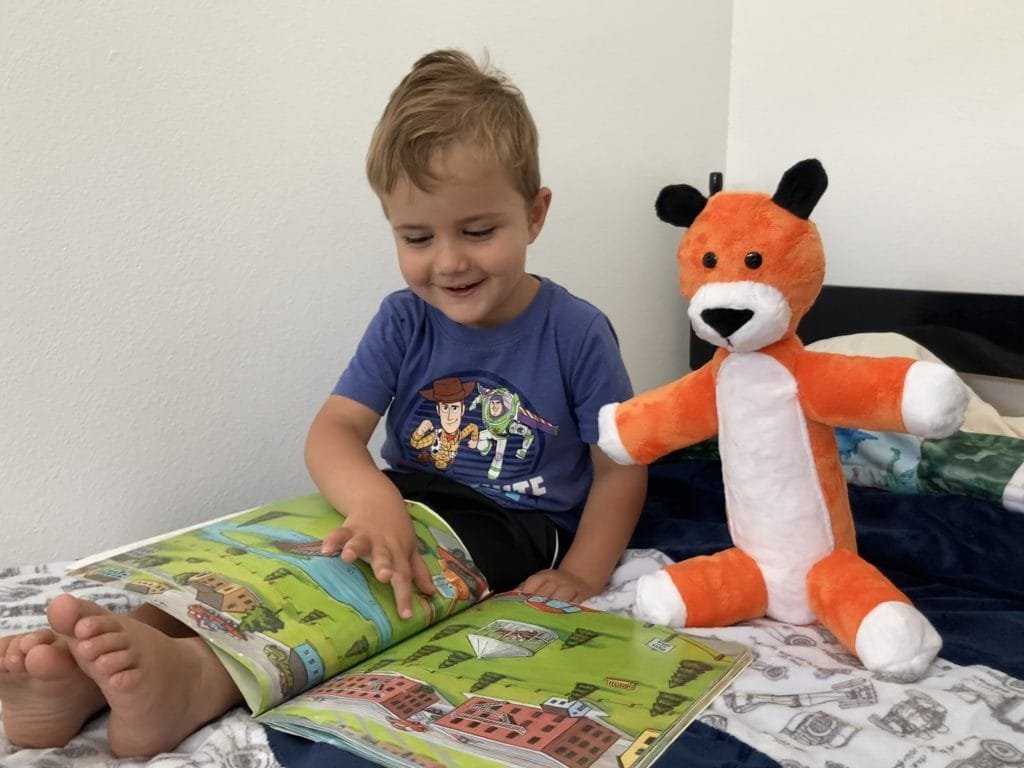
Once Hobbes resembled a stuffed animal they wanted to share their journey with friends! Unfinished Hobbes went to church with us every week this summer. Each week Hobbes was a few steps closer to completion.
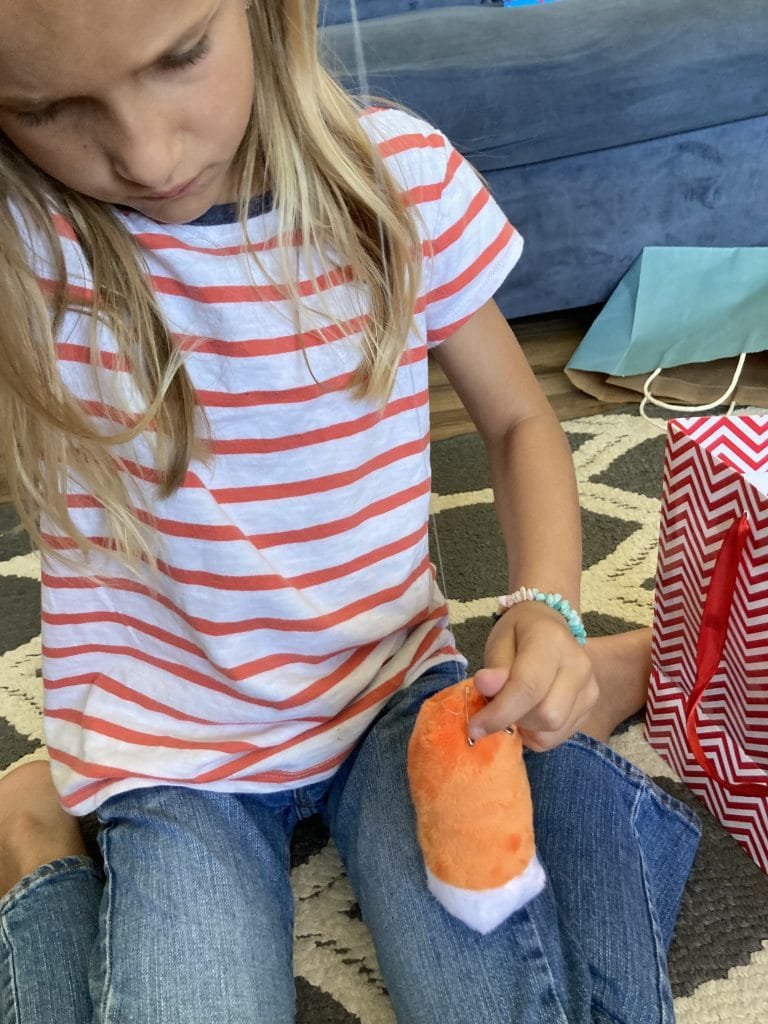
The stripes… 29 stripes. Each carefully stitched in place by hand. This was a labor of love.
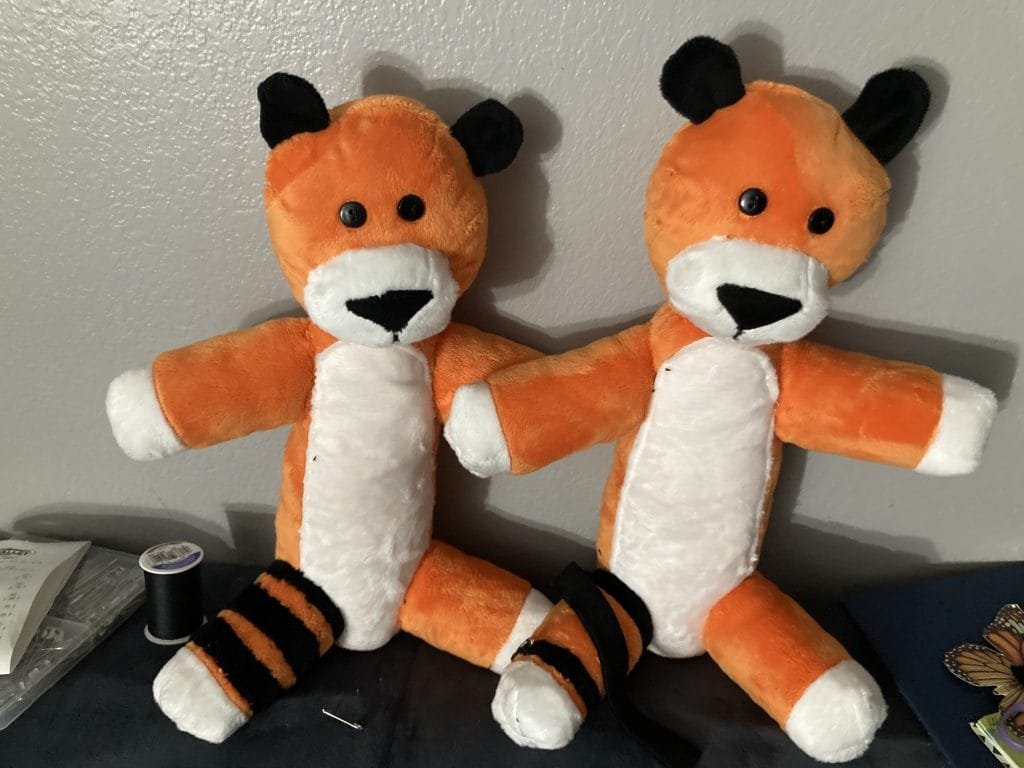

Sewing on stripes was a test of everyone’s patience and perseverance.
The goal at first was to sew on 2 stripes a day. As time went on this was reduced to one stripe a day. Incredibly the girls stuck with it!
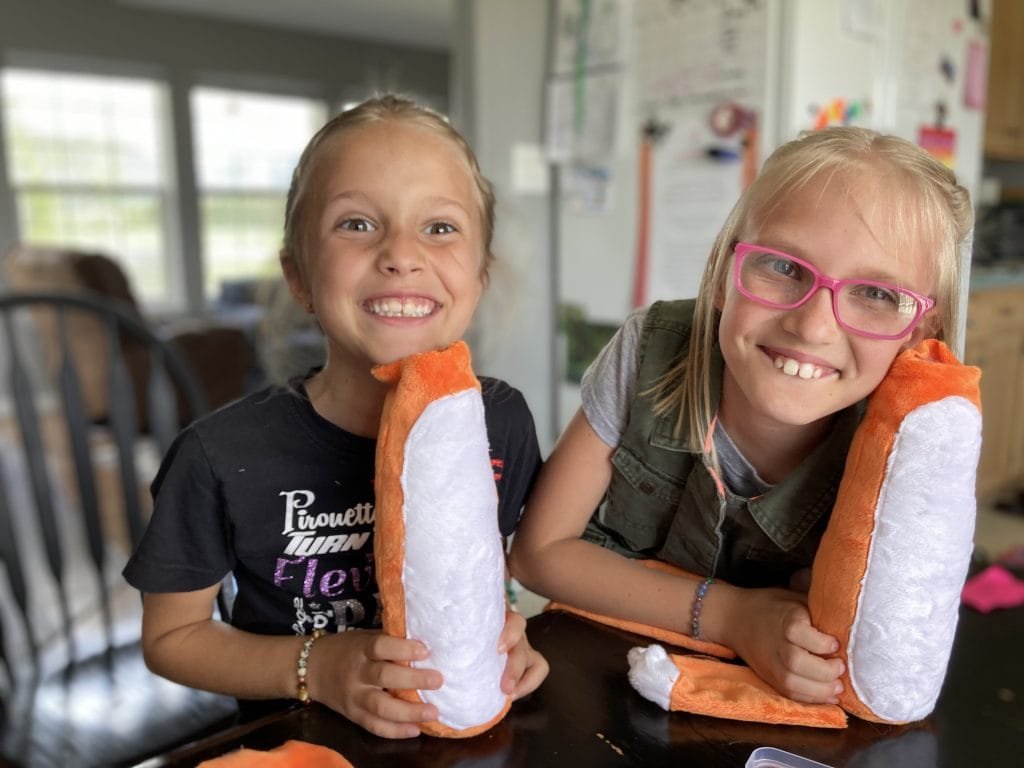
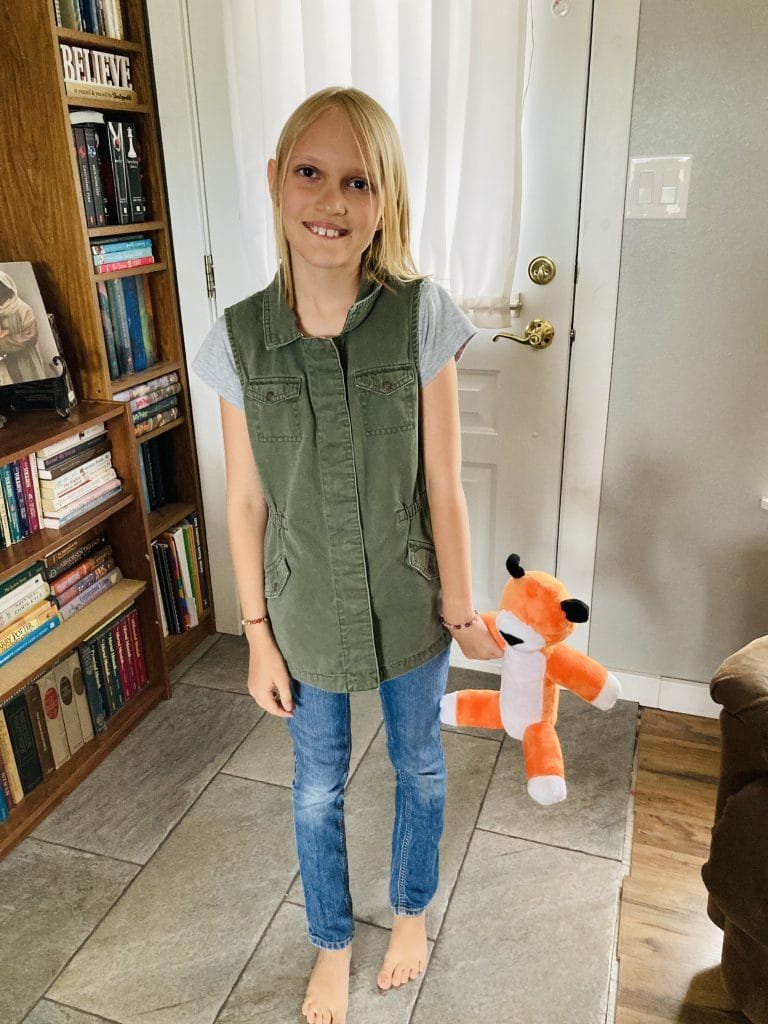
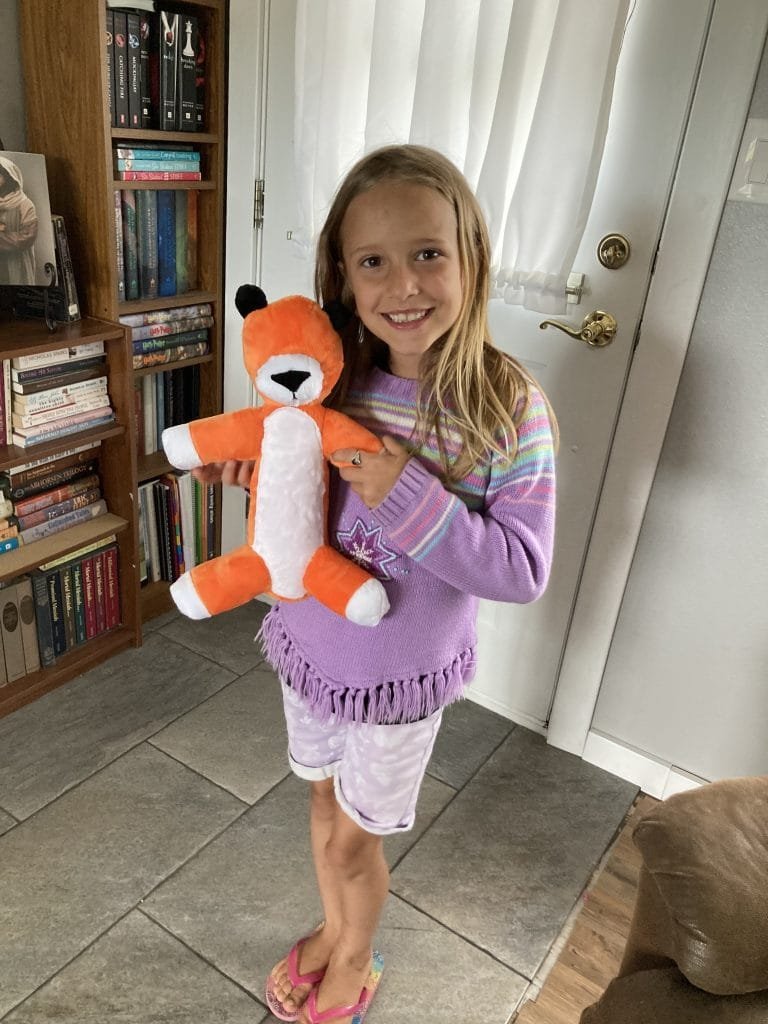
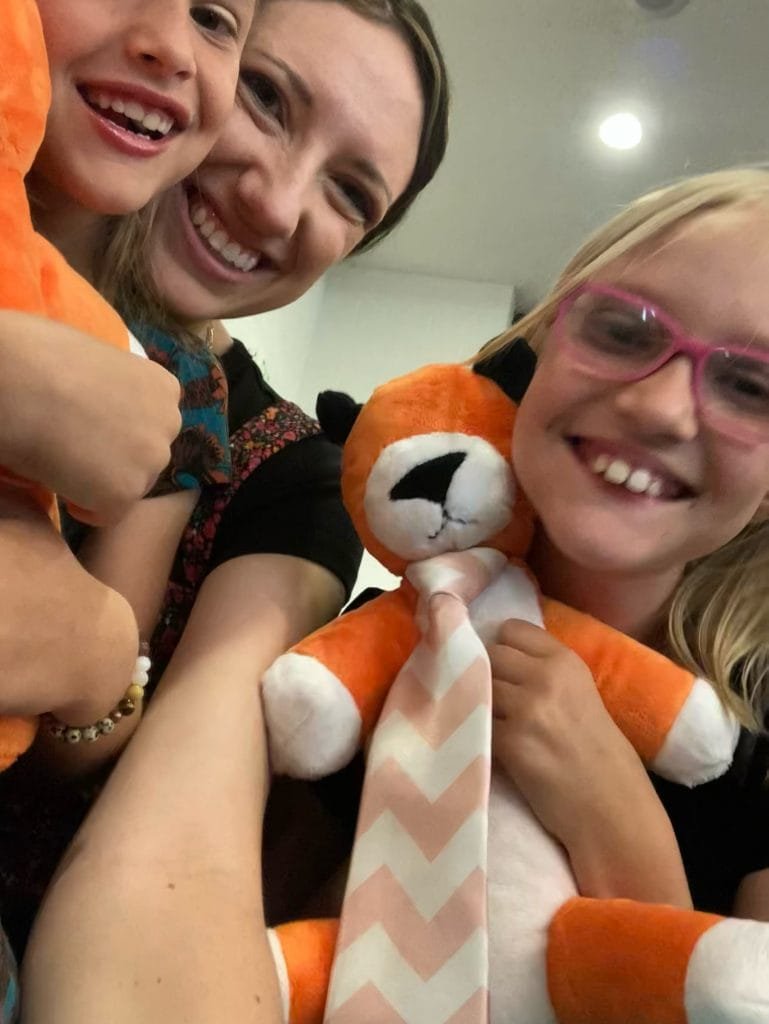
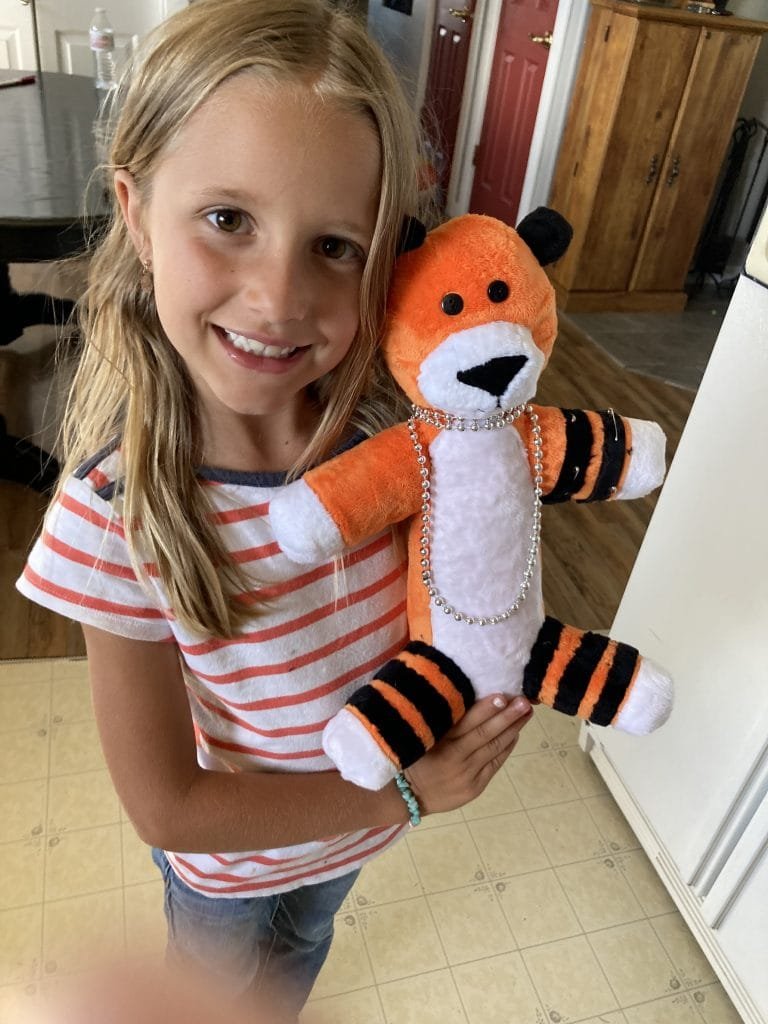
After 3 months of consistent work these girls created beautiful tigers.
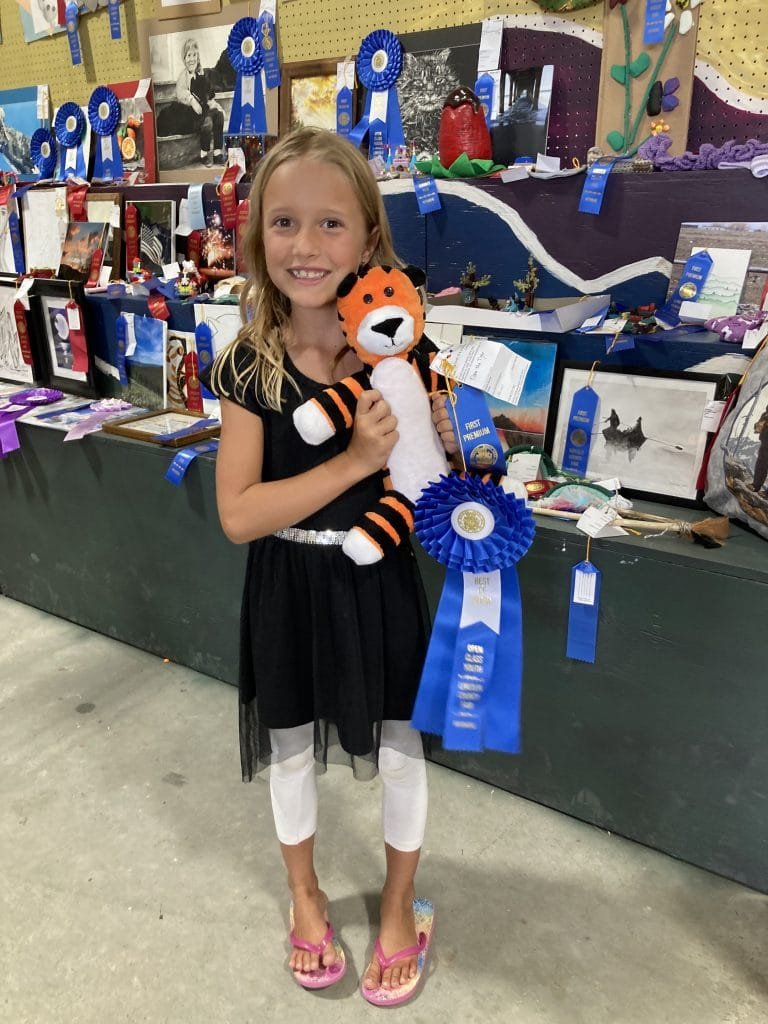
Hobbes and Fiona were entered into the county fair. They received Best of Show & Runner up Best of Show!


Consistency and perseverance lead to the completion of any task! These girls proved to me that even children can accomplish HARD things. They had a mountain to climb and they did it beautifully.
My children inspire and encourage me to stretch myself to become better each day!
Choose something that will teach you and your children new skills, make a plan, and execute that plan. It may surprise you what you can do!
💕 Terynn
The free Hobbes pattern: https://www.instructables.com/Stuffed-Hobbes-with-pattern/ a hyperlink to the printable pattern is found in the 12th paragraph of the article and is followed by detailed sewing instructions.
What a wonderful adventure! They look fabulous.